
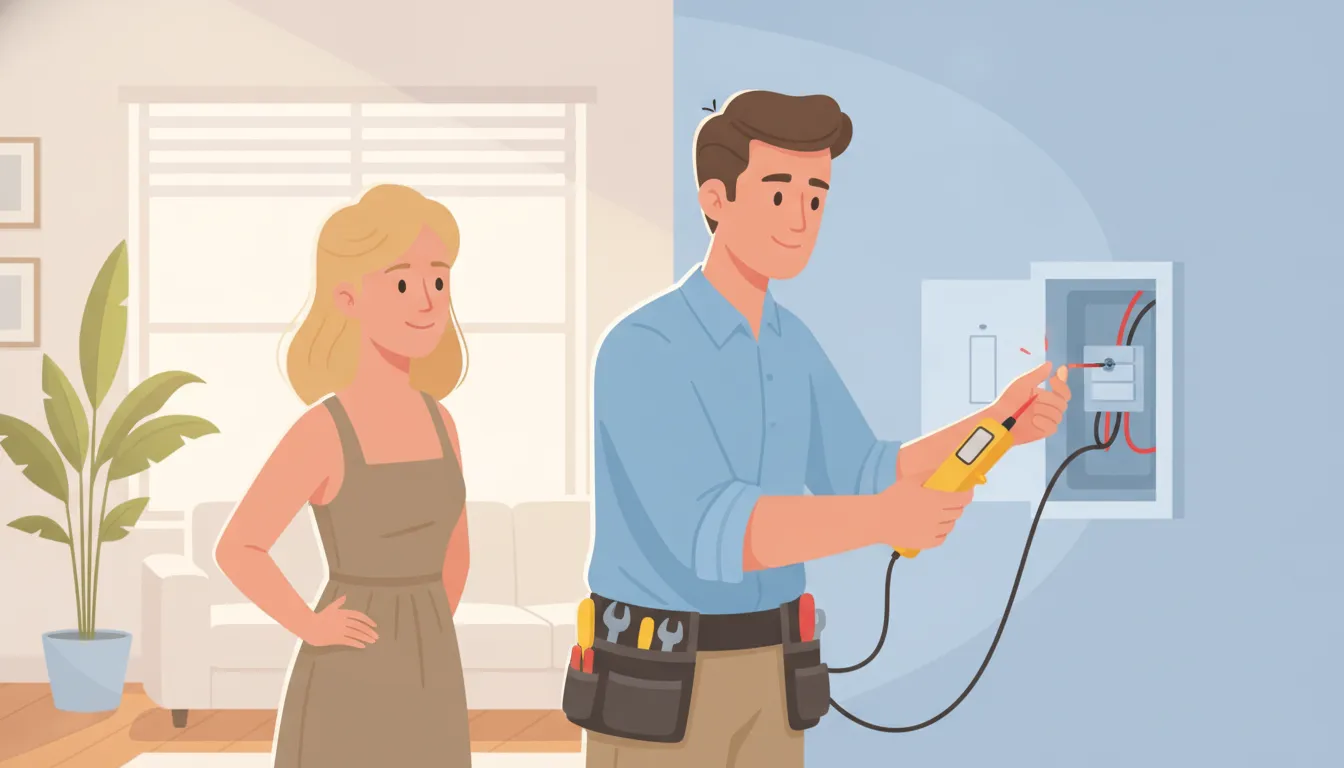
A dimmer can make a room more comfortable and help you control compatible lighting, but a switch replacement is still electrical work. Start before the wall plate comes off. Confirm the bulb and fixture support dimming. Identify whether the switch is single-pole or part of a three-way setup. Stop if the wiring looks damaged, crowded, or unfamiliar.
Learning how to install a dimmer switch can be reasonable for a straightforward, single-pole replacement. You must be able to shut off the correct breaker and verify the circuit is de-energized with an appropriate tester. Follow the manufacturer's instructions. If you find heat, buzzing, sparks, aluminum wiring, no ground, or confusing connections, leave the circuit alone and call a licensed electrician.
Florida homes also face conditions such as humidity, salt air, lightning, and storm exposure that make a careful assessment worthwhile. First, consider whether your existing switch box and circuit are suitable for a basic DIY upgrade.
Schedule Service for switch installation and repair
Can You Install a Dimmer Switch Yourself?
Sometimes, yes. A confident homeowner may be able to replace a basic switch with a dimmer when the setup is clearly identified as single-pole. The wiring and electrical box must be in good condition. The new dimmer must also be compatible with the light. This is a narrow DIY boundary, not a general answer for every dimmer project.
Before deciding how to install a dimmer switch, confirm that the bulb and fixture are designed for dimming. ENERGY STAR warns that not every bulb works well with every dimmer, so a mismatch can lead to flickering, buzzing, limited dimming, or a light that does not work as expected. Check the bulb packaging and the manufacturer's compatibility information rather than assuming that any LED bulb and dimmer will work together. ENERGY STAR's dimmable-lighting guidance explains this compatibility issue.
You also need to identify the switch configuration. A single-pole switch controls a light from one location. A three-way arrangement controls the same light from two locations and includes additional traveler wires. Legrand recommends choosing a dimmer designed for the same single-pole or three-way application as the existing switch. A replacement that looks similar on the outside may not be the right device for the circuit. Legrand's dimmer-switch guide provides additional manufacturer guidance.
When a simple replacement is not simple
Do not proceed if you find multiple cables, confusing connections, damaged insulation, or aluminum wiring. Also stop when there is no clear grounding path. A loose, crowded, scorched, or damaged electrical box is another reason to pause. Stop as well if the existing switch is warm, buzzing, sparking, or associated with a tripping breaker. Those symptoms can point to a problem beyond the switch itself.
Turn power off at the breaker and verify that the circuit is de-energized with an appropriate tester before touching conductors. Do not rely only on the light going out. If any part of the setup is unclear, use switch installation and repair services for diagnosis, grounding verification, and safe replacement. The next step is understanding what to check before you open the wall plate.
What Should You Check Before Installing a Dimmer Switch?
Before learning how to install a dimmer switch, confirm that the new control matches the light, the fixture, and the wiring arrangement. A dimmer is not automatically compatible with every LED bulb or every switch location. Taking a few minutes to identify the setup can prevent flickering, buzzing, poor dimming, or an unsafe installation.
| What to check | What to confirm | Why it matters |
|---|---|---|
| Bulb and fixture | The bulb is labeled dimmable, and the dimmer is rated for the fixture and bulb type. | Not every bulb works well with every dimmer. Compatibility problems can cause flickering or limited dimming. |
| Dimmer specifications | The dimmer matches the electrical type and load it will control, including the manufacturer's listed requirements. | A dimmer designed for the wrong application may not operate correctly or safely. |
| Switch arrangement | Determine whether the light is controlled from one location, called single-pole, or from two locations, called three-way. | A three-way setup uses additional traveler wires and requires a compatible three-way dimmer. |
| Electrical box and wiring | Look for a secure box, sound insulation, intact conductors, a usable ground, and connections you can identify confidently. | Heat, damage, loose wiring, corrosion, or crowded and confusing connections are reasons to stop rather than force the replacement. |
| Tools and instructions | Have an appropriate voltage tester, insulated hand tools, wire connectors, and the exact installation instructions for the dimmer. | The instructions define the device's terminals, approved applications, and connection method. Do not rely on a generic wire-color assumption. |
Start with the bulb and fixture
ENERGY STAR advises that every dimmable ENERGY STAR LED bulb identifies itself as dimmable on the package. It also recommends checking the bulb manufacturer's website for recommended dimmers. Confirm the fixture's requirements as well, especially when the light uses an integrated LED module, a specialty lamp, or a low-voltage system. The dimmer should match the bulb or fixture's electrical type, not simply fit the wall box.
Identify the switch location and box condition
Most homes use both single-pole and three-way switches. As Legrand explains, the replacement must be designed for the same application. If two switches control one light, expect additional traveler wires and follow the device-specific diagram. Before touching anything, inspect for a damaged box, brittle insulation, heat, corrosion, missing grounding, or multiple cables that you cannot distinguish. A secure switch installation and repair service can verify the condition instead of guessing.
Gather the tester and tools, then read the manufacturer's instructions from start to finish. If the box or wiring does not match the diagram, stop. Do not proceed until the circuit can be safely identified, de-energized, and tested.
How Do You Shut Off and Test the Circuit Safely?
Before removing a wall switch, treat the circuit as energized until you have isolated and tested it. OSHA recommends safety practices that prevent shock when working near circuits that may be energized, and says exposed live parts should be deenergized before work unless a recognized exception applies. For a homeowner dimmer project, the safest approach is to work only on a circuit you can confidently identify and verify as dead.
Identify the correct breaker
Locate the breaker that controls the existing switch and light. If the panel directory is unclear, do not guess. Turn off one breaker at a time while someone observes the light, or use an appropriate circuit-identification method. Leave the breaker off once you have identified it, and keep the panel accessible in case you need to restore power or call for help.
Tell everyone in the home
Let household members know that you are working on the circuit. Ask them not to reset the breaker or operate the switch while the wall box is open. Controlling the source of hazardous energy is a fundamental part of working dead, according to Berkeley Lab electrical safety guidance.
Turn off the breaker, then try the switch
Move the identified breaker fully to the OFF position. Try the light switch from its normal position. The light should go out, but that result is only an initial check. Lights going off, or a hum stopping, does not prove that every conductor in the box is safe. A circuit can still be live, and hazardous voltage cannot be detected reliably by human senses.
Test before touching any conductor
Use an appropriate, functioning voltage tester according to its instructions. Test it on a known live source first, use it to check the conductors in the switch box, and test it again on the known live source afterward. This confirms that the tester worked before and after the measurement. Follow the dimmer manufacturer's instructions, and use a meter or tester only if you understand how to use it safely.
Stop if any power remains
If the tester indicates voltage, the light behaves unexpectedly, the breaker cannot be identified, or the box contains confusing connections, stop. Do not proceed by touching wires or trying additional breakers at random. An electrician can diagnose the circuit and verify deenergization before installation. My Electrician's documented switch service includes testing and grounding verification when needed: switch installation and repair.
These steps are a safety boundary, not proof that every dimmer replacement is suitable for DIY work. Local requirements can vary, so confirm them with the authority having jurisdiction or a licensed electrician before starting.
How to Install a Dimmer Switch in a Simple Single-Pole Setup
This generalized sequence applies only when one switch controls the light and the wiring is clear, intact, and compatible with the new device. If you see multiple cable bundles, traveler wires, aluminum wiring, heat damage, or anything you cannot identify confidently, stop rather than continue. Legrand notes that single-pole and three-way switches use different configurations, and three-way installations include additional traveler wires. A dimmer must also match the bulb or fixture it controls and the intended single-pole application. Legrand's installation guidance explains these compatibility distinctions.
- Turn off the breaker and verify the circuit is dead. Switch off the correct breaker, tell everyone in the home not to restore it, and try the light switch. Do not treat a dark fixture as proof that the wiring is safe. Use an appropriate voltage tester on the conductors before touching them. If the tester indicates voltage, behaves unexpectedly, or you are unsure how to test, stop and call a licensed electrician.
- Remove the wall plate and old switch carefully. Take out the plate screws, then loosen the switch mounting screws and gently pull the switch forward. Keep the wires attached while you inspect the box. Do not force a crowded box, damaged conductor, scorched insulation, loose connection, or brittle wire.
- Document the existing connections. Take a clear photo and label each conductor before disconnecting anything. Preserve the orientation of the old switch so you can distinguish the incoming line connection from the conductor leaving toward the light. Never rely on a universal wire-color assumption. The manufacturer's diagram for your exact dimmer is the authority for identifying and connecting its terminals.
- Connect the dimmer according to its instructions. For a simple single-pole device, connect the grounding conductor to the dimmer's ground lead or terminal as directed. Connect the line and load leads to the specified terminals, following the device diagram rather than guessing from appearance. If the dimmer includes a lead that is not used in this configuration, cap it securely with an approved connector. Do not leave unused conductors exposed, and do not force connections that do not fit the enclosure.
- Mount the device without crushing the wiring. Fold the conductors neatly into the electrical box, keeping terminal screws and connections protected inside the enclosure. Secure the dimmer with its mounting screws, install the wall plate, and check that the device sits straight without excessive pressure. My Electrician's switch service includes grounding verification and replacement of damaged conductors when those conditions need professional attention. See its switch installation and repair service for that type of help.
- Restore power and test from a safe position. Move away from the box, restore the breaker, and operate the dimmer gradually. Confirm that the light turns on and responds smoothly. Stop immediately if you notice buzzing, heat, sparking, a burning smell, a tripping breaker, flickering, or an unusual odor. Do not keep experimenting with an unclear connection. My Electrician documents safety testing and manufacturer-specification requirements as part of professional electrical work, so a licensed electrician can diagnose and verify a problem before completing the repair.
Why Is the Dimmer Flickering, Buzzing, or Not Working?
A dimmer that flickers, buzzes, feels warm, or does nothing after installation is giving you useful information. The problem may be a mismatch between the bulb and dimmer, an issue with the light fixture, or a wiring condition that needs professional diagnosis. Do not keep changing connections or repeatedly energizing the circuit to see whether the symptom goes away.
Bulb and dimmer compatibility matters
Not every bulb works well with every dimmer. ENERGY STAR recommends choosing bulbs labeled “dimmable” and checking the bulb manufacturer’s website for recommended dimmers when installing a new switch. A bulb and dimmer can both appear suitable on their own and still perform poorly together. Flickering, a narrow dimming range, pulsing light, or a faint hum may indicate that the pairing is not compatible.
Compatibility also depends on the lighting load and the dimmer’s design. An LED setup may need a dimmer specifically rated for LED loads, while other fixtures may use different electrical characteristics. Check the manufacturer’s instructions rather than relying on appearance or a generic wire connection. If the current pairing is unsuitable, the correct fix may involve replacing the bulb, replacing the dimmer, or having the fixture evaluated.
When the symptom points beyond the dimmer
A dimmer may not be the whole story when the light remains unstable with a compatible bulb. The concern is greater when several lights behave strangely or the circuit has other symptoms. Flickering lights, faulty switches, dead outlets, and tripping breakers are all electrical concerns that can require more than a switch swap. Heat, a burning smell, sparking, or buzzing from the box should be treated as stop-work signs, not troubleshooting invitations.
Lighting repair services can help when the fixture or lighting circuit may be involved. If the issue may include conductors, terminations, grounding, or the wider circuit, residential electrical repairs can provide a more complete diagnosis. Professional testing may include a circuit tester, voltmeter, multimeter, or other diagnostic equipment, followed by repairs that meet manufacturer specifications and applicable electrical standards.
If you cannot clearly identify the cause, stop working and continue to the next section for the conditions that mean it is time to call an electrician.
When Should You Stop and Call an Electrician?
Knowing when to stop is just as important as knowing how to install a dimmer switch. A straightforward-looking wall box can contain older wiring, more than one cable, or connections that do not match the instructions for the new dimmer. If you cannot identify what you are seeing with confidence, leave the wires undisturbed and call a licensed electrician.
Stop if the wiring or grounding is unclear
- Stop when the wiring is unknown, aluminum, brittle, scorched, or visibly damaged.
- Stop when there is no clear grounding conductor, the electrical box is damaged, or several cables create confusing connections.
- Stop when the existing switch controls more than you expected, or the setup does not clearly match a single-pole or three-way application.
- Stop when the home has an older electrical system and you are unsure whether the circuit can safely support the change.
Do not guess at wire identity or force a connection to make the dimmer fit. A professional can trace the circuit, verify grounding, inspect conductors and terminations, and determine whether the installation meets manufacturer specifications and applicable local requirements. If you are uncertain about the condition of the circuit, you can schedule an electrical inspection before proceeding.
Treat heat, odor, buzzing, or sparks as a warning
Stop immediately if the switch, wall plate, or wiring feels hot, or if you notice a burning smell, smoke, buzzing, crackling, or sparks. Do not keep cycling the breaker or repeatedly testing a switch that is tripping. These symptoms can point to a problem beyond the dimmer, including a damaged connection or circuit fault. Flickering lights, a dead switch, or a breaker that will not stay on also warrant professional diagnosis rather than more trial-and-error wiring.
For sparks, exposed wiring, smoke, burning odors, or a serious breaker failure, keep people away from the area and seek emergency electrical help. If there is an immediate fire or life-safety emergency, contact emergency services first. My Electrician documents 24/7/365 response for critical electrical hazards, including sparking switches, exposed live wiring, burning smells, and breaker failures.
Consider the local environment and requirements
Coastal Florida homes may face humidity, salt air, lightning, and hurricanes. Those conditions provide useful context when evaluating an older or exposed electrical system, but they do not diagnose the problem by themselves. Local requirements for a dimmer replacement can also vary. Confirm what applies with the authority having jurisdiction or a licensed electrician rather than assuming every replacement does, or does not, require a permit.
When the project moves beyond a clearly identified, de-energized, compatible installation, let a professional take over. My Electrician can provide switch installation and repair, testing, and related electrical troubleshooting. For routine help, Schedule Service and explain what you observed before touching the circuit again.
Schedule Service for dimmer switch help
Frequently Asked Questions
Can you install a dimmer switch yourself?
A homeowner may be able to replace a straightforward single-pole switch when the circuit is compatible, the wiring is in good condition, and the power can be positively verified off. Turn off the correct breaker, test before touching conductors, and follow the dimmer manufacturer's instructions. If the box contains unfamiliar wiring, multiple cables, damage, or no clear grounding path, stop and call a licensed electrician.
Can I put a dimmer switch on any light fixture?
No. The bulb or fixture must be designed for dimming, and the dimmer must match its electrical type and rating. ENERGY STAR advises checking for dimmable labeling and reviewing the bulb manufacturer's recommended dimmers, because not every bulb works well with every dimmer. See the ENERGY STAR dimmable LED guidance before buying.
Do I need an electrician to install a dimmer switch?
Not every simple replacement requires professional help, but an electrician is the safer choice when the setup is three-way, the wiring is older or damaged, the switch feels hot, or the breaker trips. Local requirements can vary, so confirm questions about code or permits with the authority having jurisdiction or a licensed electrician. A professional can diagnose the circuit and perform safety testing.
What wire goes where on a dimmer switch?
There is no universal connection rule based only on wire color. Identify the line, load, ground, and, when applicable, traveler conductors according to the device instructions and the existing configuration. Three-way applications include additional traveler wires. If you cannot confidently identify each conductor, leave the circuit deenergized and arrange professional switch installation and repair.
Schedule Service for Dimmer Switch Help
If your dimmer, wiring, or light fixture is not clearly compatible, a professional can help identify the right setup and check for safety concerns before work continues. This is especially useful when the switch buzzes, flickers, feels warm, or the circuit does not behave as expected.