
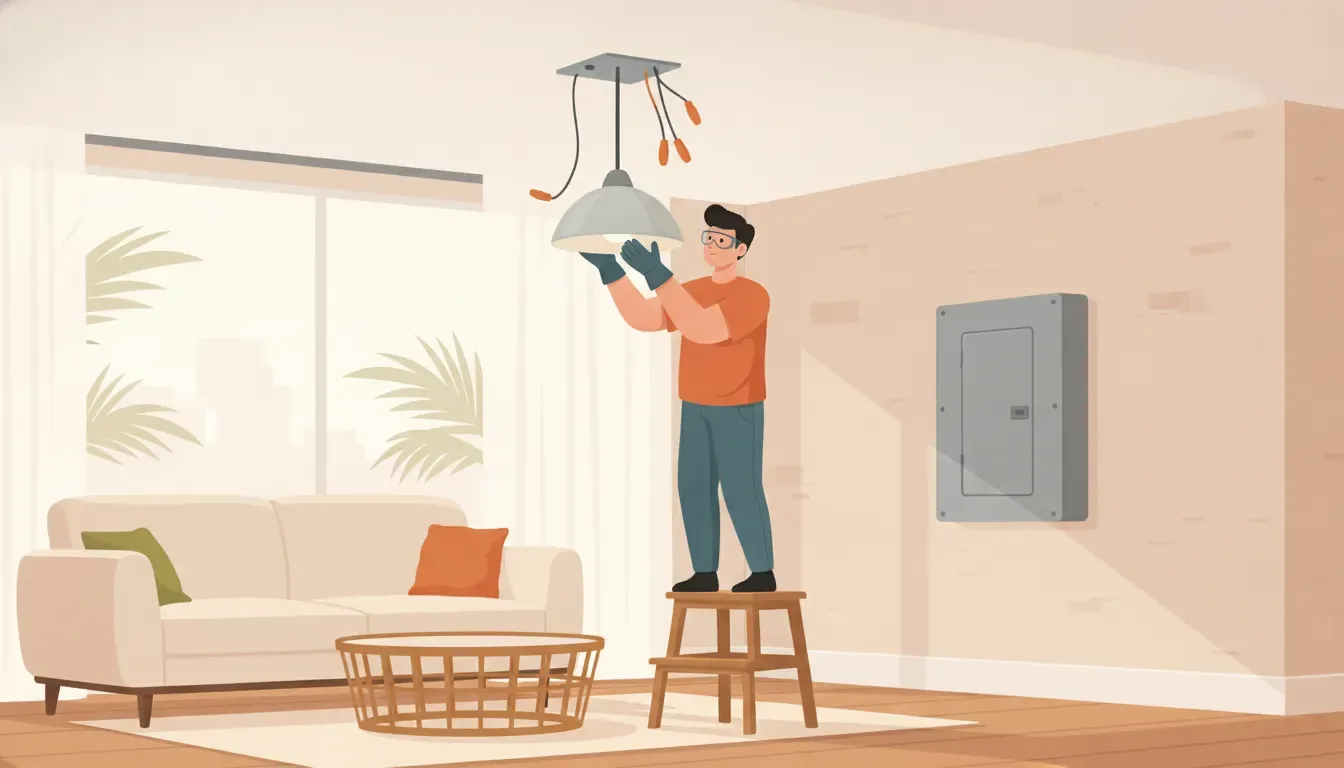
Learning how to install a light fixture can make a room feel brighter and more finished, but the job is more than matching a few colored wires. A safe replacement starts with the right fixture, a properly supported junction box, confirmed power shutoff, and a clear plan for stopping when the existing wiring does not match the instructions. This guide covers a straightforward replacement of an existing fixture and explains when a licensed electrician should take over.
Schedule professional lighting installation with My Electrician, Inc.
Is it safe to install a light fixture yourself?
It may be reasonable for a capable homeowner to replace an existing, lightweight fixture when the electrical box, wiring, grounding, and mounting hardware are in good condition and the manufacturer instructions are clear. It is not a good do-it-yourself project when you see damaged insulation, heat or burn marks, an unsupported box, water exposure, aluminum wiring, confusing wire connections, or signs that the circuit is still energized.
Electrical work can cause shock, burns, fire, or damage to the fixture when a connection is loose or incorrectly identified. The U.S. Consumer Product Safety Commission advises homeowners to follow electrical safety practices and check that bulbs and fixtures are used as directed. Review the CPSC electrical safety guidance and its home electrical safety checklist before beginning. If you are unsure whether the existing installation is safe, choose an inspection rather than guessing.
What should you check before replacing a light fixture?
Begin with the fixture instructions, not the wires. A new fixture must be suitable for the location and compatible with the existing electrical box and circuit. Confirm these points before removing anything:
- Fixture location: Check whether the fixture is listed for a dry, damp, or wet location. A fixture intended for indoor dry locations should not be installed on an exposed Florida patio or in a location that receives spray.
- Weight and support: Determine how much the fixture weighs and confirm that the electrical box and mounting hardware are designed to support it. A decorative cover or drywall is not a substitute for structural support.
- Bulb or lamp requirements: Follow the listed bulb type, base, maximum wattage, and dimmer compatibility. The CPSC home electrical safety checklist warns that an incorrect bulb wattage can overheat a fixture, wiring, or nearby materials.
- Switch and circuit behavior: Note whether the switch controls one fixture, multiple fixtures, or a three-way arrangement. Unusual switching or a fixture that was previously controlled by a dimmer may require a different installation approach.
- Existing condition: Look for scorch marks, brittle insulation, corrosion, loose parts, buzzing, flickering, or a box that moves when gently touched. These are reasons to stop and call an electrician.
Gather a non-contact voltage tester, a screwdriver set, wire connectors approved for the conductors, a stable ladder, eye protection, and a helper. Use only the connectors and mounting hardware specified or permitted by the fixture instructions. Do not improvise with tape, unsupported screws, or a connector that does not fit the wire type.
How do you shut off and verify power?
Turning off the wall switch is not enough. Someone could flip it back on, or the switch may control a different conductor than you expect. Locate the breaker that supplies the light, turn it off, and keep other people away from the panel while you work. If the breaker is not labeled, identify the correct circuit before touching conductors.
- Turn the light on, then switch off the suspected breaker. Confirm that the light goes out.
- At the fixture, use a properly functioning voltage tester according to its instructions. Test the known live source or another operating circuit first so you know the tester responds.
- Test the wires and the area where your hands will work. Test more than one point because a ceiling box can contain conductors for another circuit or fixture.
- Do not proceed if the tester indicates voltage, behaves unexpectedly, or you cannot confidently identify the circuit. Contact an electrician instead.
OSHA's hazardous-energy standard emphasizes verifying isolation and deenergization before servicing equipment. Homeowners are not performing an OSHA-regulated workplace procedure by changing a light fixture, but the underlying habit is sound: shut off the energy source and verify that it is actually off before beginning.
How do you remove the old fixture without creating a wiring problem?
Place the ladder on a level surface and have a helper support the fixture. Remove the shade or bulbs first, then loosen the fixture from its mounting bracket while keeping the fixture supported. Do not let the fixture hang from the wires. Photograph the existing arrangement only as a reference, because a photograph does not confirm that the earlier wiring was correct.
Once the fixture is supported, separate the conductors without pulling on the cable entering the box. Inspect the insulation and the box. Stop if the box is loose, cracked, rusted, wet, crowded, or not firmly attached. Stop as well if the wires are too short to work safely, if insulation crumbles when touched, or if you find more wires than the new fixture instructions explain.
Wire colors are useful clues, but they are not permission to connect conductors by color alone. Older homes, previous repairs, switch loops, multi-wire circuits, and nonstandard work can produce combinations that do not match a simple replacement diagram. Never assume a bare or green conductor is safe to touch merely because it is a ground. It can become energized if another fault exists.
How do you connect a new light fixture?
Follow the wiring diagram supplied with the fixture and make each connection only after the circuit is confirmed deenergized. In a typical modern installation, the fixture's neutral conductor connects to the supply neutral, the fixture's hot conductor connects to the switched hot, and the fixture grounding conductor connects to the grounding means required by the box and instructions. The exact method depends on the fixture, box, wiring method, and local requirements.
Before tightening a connector, make sure the conductors are clean, stripped to the specified length, and fully inserted. A connector should be snug and secure, with no bare copper exposed beyond what the instructions allow. Fold the connections into the box without forcing them, and keep the grounding connection arranged as the manufacturer directs. Do not connect a grounding conductor to a neutral simply because there is no obvious ground point.
Some fixtures include a mounting plate, threaded screws, a canopy, or a grounding strap. Install those parts in the stated order. If the junction box does not have the needed support, if the bracket does not fit, or if the fixture is too heavy for the box, stop. Replacing a box or adding support is a different job from swapping a lightweight fixture and may require an electrician.
For older wiring, aluminum conductors, cloth-insulated cable, knob-and-tube wiring, or any installation with uncertain grounding, do not rely on a generic online diagram. The safe next step is an evaluation by a qualified electrician who can identify the wiring method and make a code-compliant connection.
How do you secure and test the fixture?
With the connections arranged, attach the mounting plate or fixture body to the supported box. Tighten hardware evenly, but do not overtighten and damage the fixture or box. The fixture should sit securely against the intended surface without wobbling, pinching wires, or leaving a gap that the instructions do not allow. Install the correct bulb or lamp only after confirming the size, wattage, and compatibility.
Before restoring power, make sure the fixture is fully assembled, the tools are clear, and nobody is touching the wiring or standing beneath an unsecured part. Turn the breaker on, operate the wall switch, and watch for flicker, buzzing, heat, smoke, odor, sparking, or a breaker that trips. Turn the breaker off immediately if any warning sign appears. Do not keep resetting a tripping breaker. Arrange electrical troubleshooting instead.
A fixture that turns on is not automatically a safe installation. Check that the canopy remains secure, the switch works as expected, and the fixture does not become unusually warm. If the light flickers, dims unexpectedly, trips the breaker, or behaves differently from the manufacturer's description, have the circuit and connections inspected.
What changes for outdoor light fixtures in Florida?
Outdoor installation adds moisture, wind, salt air, insects, heat, and storm exposure to the planning. Select a fixture specifically listed for the location. A damp-location rating is not automatically the same as a wet-location rating. Follow the fixture instructions for gaskets, covers, mounting orientation, and sealing. Never block drainage paths or seal a fixture in a way that traps water.
Inspect the wall or soffit before installation. Water stains, cracked stucco, loose siding, corroded hardware, or a box that shifts can signal a building-envelope or support problem in addition to an electrical problem. Outdoor wiring and connections must be protected from the environment with the right enclosure, fittings, and weatherproofing. The correct solution depends on the location and existing wiring, so do not copy an indoor installation method outside.
Outdoor receptacles and circuits may also involve ground-fault protection and other local requirements. Do not assume that an existing exterior circuit is suitable for a new fixture or that a nearby receptacle proves the lighting circuit is protected correctly. For a new outdoor circuit, a fixture on a wet-exposed wall, or any installation with corrosion or storm damage, use a licensed electrician. Learn more about outdoor lighting installation and repair before you begin.
When should you call an electrician instead?
Call a professional before starting, or stop and call one during the project, when any of these conditions apply:
- The breaker will not stay off, the tester shows voltage, or you cannot identify the correct circuit.
- The junction box is loose, damaged, undersized, corroded, wet, or not rated to support the fixture.
- You see burned wires, melted insulation, arcing, scorch marks, buzzing, repeated flickering, or a burning smell.
- The wiring does not match the fixture diagram, includes unfamiliar conductors, or appears to have been modified incorrectly.
- The home has older wiring, aluminum wiring, cloth insulation, knob-and-tube wiring, or uncertain grounding.
- The project requires a new box, new circuit, switch relocation, dimmer conversion, or work inside a panel.
- The fixture is heavy, installed over stairs, mounted at an unsafe height, or in a wet or difficult-to-access location.
- You are uncomfortable using a tester, working from a ladder, or making the required connections.
My Electrician, Inc. provides electrical repair, lighting installation, inspections, and emergency service for homeowners and businesses from Palm Beach Gardens through Vero Beach. A professional can inspect the existing support and wiring, explain the safest installation path, and provide an upfront quote before work begins.
Schedule an electrical inspection before you take on an uncertain fixture installation.
Frequently Asked Questions
Can I install a light fixture without turning off the breaker?
No. Turn off the correct breaker and verify that power is off with a properly functioning tester before touching the wiring. The wall switch alone is not a sufficient shutoff.
What if the new light fixture has different wires?
Do not connect wires by guesswork. Compare the fixture instructions with the existing wiring and stop if the arrangement is unclear, damaged, or outside a simple like-for-like replacement. An electrician can identify the conductors and correct an unsafe prior installation.
Does a heavier fixture need a special electrical box?
It may. The box and mounting system must be rated for the fixture's weight and installed securely in the structure. Drywall anchors or a decorative cover cannot replace proper support.
Can I install an indoor fixture outside?
No. Outdoor fixtures must be listed for the moisture exposure at their location. In Florida, also account for storm exposure, corrosion, heat, and the condition of the mounting surface and enclosure.
What should I do if the breaker trips after installation?
Turn the breaker off and leave it off. Do not keep resetting it. A trip can indicate a short, incorrect connection, damaged wire, incompatible fixture, or another circuit problem that needs professional diagnosis.
Replacing a fixture is a manageable project only when the existing installation is sound and the safety checks are clear. When the box, wiring, support, or outdoor conditions raise questions, professional help is the safer choice.
Call My Electrician, Inc. at 877-762-7483 to schedule safe light fixture installation.