
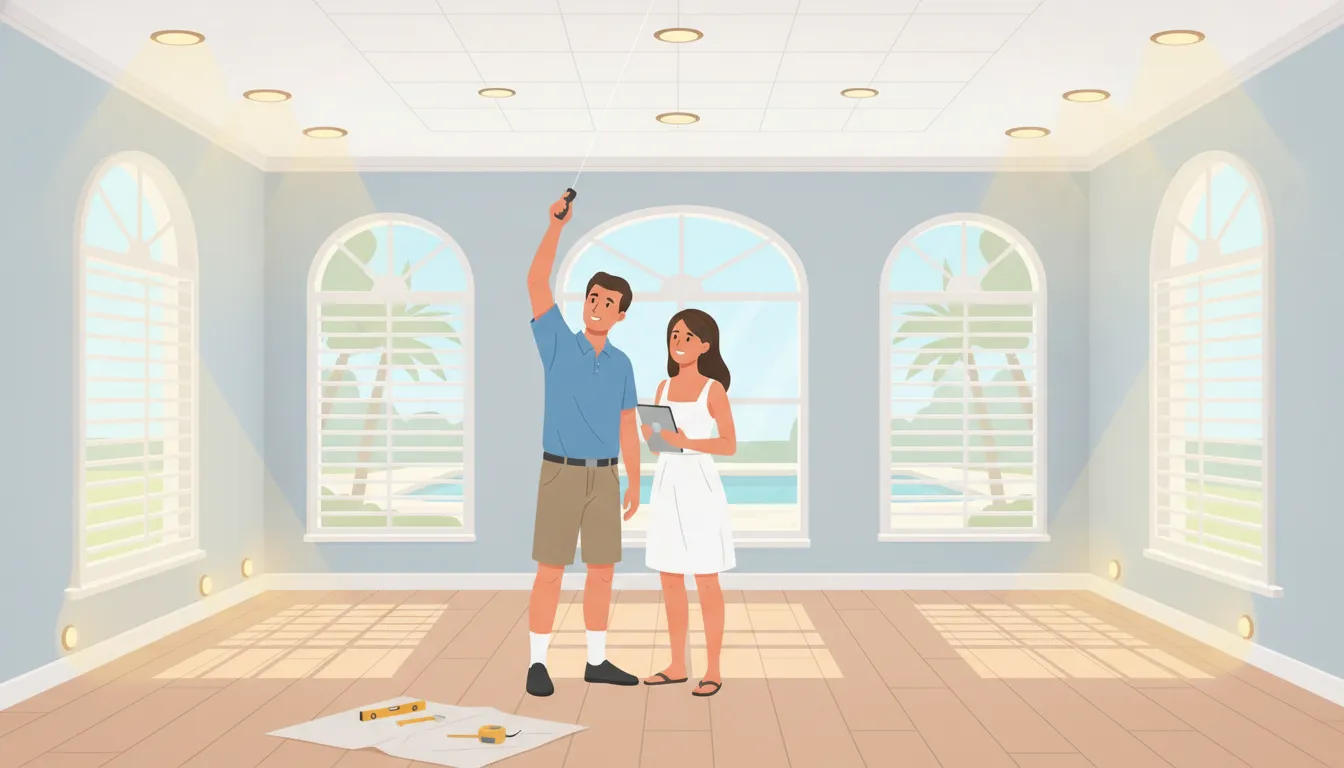
Recessed lighting can make a room feel brighter, cleaner, and easier to use, but the best results begin before anyone cuts into the ceiling. A thoughtful plan accounts for furniture, task areas, ceiling joists, insulation, moisture, fixture support, and the electrical load already serving the room. Florida homeowners also need to consider humidity, salt air, storms, and whether a fixture is suitable for its intended outdoor location.
Learning how to install recessed lighting starts with choosing practical fixture locations and confirming the ceiling conditions. Connecting the lights to house wiring, changing circuits, working near insulation or moisture, and completing final safety checks should be evaluated and handled by a qualified electrician.
Before selecting fixtures or marking cutouts, consider how the room is used and what may be hidden above the ceiling. That planning step helps you create balanced illumination while identifying the access and support requirements that shape the installation.
How do you plan where recessed lights should go?
Start with what you want the room to feel like and how you use it. A kitchen may need focused light over counters and an island, while a living room may benefit from softer ambient light around seating areas. In a hallway, the goal may be even visibility without bright spots. Walk through the room at different times of day and note where shadows, glare, or dim areas affect normal activities.
Divide the plan into layers. Ambient lighting provides general brightness, task lighting supports activities such as cooking or reading, and accent lighting can draw attention to artwork or architectural features. Recessed fixtures are most useful when their locations support those goals rather than simply filling an empty ceiling. Keep furniture, cabinets, doors, and sightlines in mind so the finished lights serve the room after it is furnished.
Account for the ceiling and the room below
Before marking a location, consider what may be above the ceiling. Joists, ductwork, plumbing, insulation, and existing wiring can limit where a fixture can go. Ceiling access also matters. An attic may make inspection easier, while a finished ceiling with no access can require a different fixture and installation approach. Canless and retrofit products are not interchangeable in every situation, so the existing housing, wiring, and available space should guide the choice.
Mark the proposed layout on the ceiling with removable tape or light pencil marks, then view it from the main seating and work areas. Aim for a balanced pattern, but do not force equal spacing if that puts a light over a cabinet edge, directly above a person's head, or too close to a wall. A lighting professional can help trace a practical wiring path and identify obstructions before openings are cut. You can review My Electrician's electrical services to see how planned installation support fits into the project.
Plan for support and safe installation
Every fixture needs to be compatible with the ceiling construction and supported according to its instructions. The plan should account for the fixture housing, junction box, trim, and any required clearance from insulation or other materials. In Florida homes, also consider humidity and moisture exposure, especially near bathrooms, kitchens, covered patios, or exterior ceilings. The appropriate fixture and installation method depend on the actual location, not just the room name.
Planning the layout is a useful homeowner step, but connecting house wiring, changing circuits, modifying support, or making final safety checks is electrical work. Have a qualified electrician evaluate those parts before installation begins.
What should you check above the ceiling before installation?
Before cutting any ceiling openings, learn what is above the proposed light locations. An attic, crawl space, or accessible floor above can make planning easier, while a closed ceiling may require a different installation approach. From the accessible side, a homeowner can note the direction of the ceiling joists. Look for visible plumbing or ductwork, and identify existing junction boxes, cables, and other obstructions. Do not move wiring, disconnect a box, or open an energized electrical enclosure to investigate.
Look for framing, insulation, and moisture
Joists affect both placement and fixture support. A light that lands directly on framing may need to move, or the electrician may need to select a fixture designed for that condition. Insulation also matters. Insulation-contact, or IC, fixtures are intended for locations where insulation may surround the housing, but the exact product instructions still control. The U.S. Department of Energy recommends sealing the gap between an IC-rated fixture and the ceiling to limit air leakage and moisture movement between the conditioned room and attic. DOE guidance explains recessed-light air sealing.
Older non-IC recessed housings require particular care around insulation and debris. DOE guidance describes maintaining clearance around the lamp and using a properly sealed enclosure where applicable. Never assume that pushing insulation away by hand creates a safe installation. If you see damp insulation, staining, condensation, damaged roofing, or signs of past leaks, pause the lighting plan until the moisture source is addressed.
Choose the right approach for the ceiling
Canless lights are compact fixtures with a separate junction box and may work well when attic access or ceiling depth is limited. Retrofit lights are designed to adapt an existing recessed housing, so they make more sense when a suitable can is already in place. Neither choice is automatically right for every ceiling. The electrician must confirm the housing, wiring, insulation conditions, support, and manufacturer requirements.
Homeowners can mark preferred locations, photograph accessible areas, and identify rooms where a new switch or dimmer would be useful. An electrician should handle the junction-box connections, fixture support, wiring changes, circuit evaluation, and final testing. Stop and request an electrical evaluation if you encounter brittle insulation, unexplained wires, an inaccessible junction box, heat, buzzing, burning odor, or a breaker that trips. Careful observation helps the project move smoothly, but ceiling conditions and house wiring should be verified before installation begins.
How do circuit capacity and wiring affect recessed lighting installation?
Recessed lights may use less energy than older fixtures, but adding several fixtures still changes the demand on an existing circuit. Before deciding how to install recessed lighting, identify what else shares the circuit, how the breaker is rated, and whether the existing wiring is in suitable condition. A lighting plan that looks simple from the room may require a new cable route, an accessible junction box, or circuit changes above the ceiling.
| Area to review | Why it matters | Who should handle it |
|---|---|---|
| Load and breaker compatibility. | The existing circuit must support the added fixtures. It must also handle its current lighting and equipment without nuisance tripping. | A qualified electrician should evaluate the circuit and any load changes. |
| Wiring path and connections | New wiring may need to pass through finished ceilings, framing, or attic areas. Connections must be contained and accessible as required for the project. | Leave new cable runs and energized wiring to a qualified electrician. |
| Grounding and fixture compatibility | The fixture, wiring method, junction points, and grounding arrangement need to work together. Existing wiring may not match a new fixture or control. | An electrician should verify the installation before power is restored. |
| Switch and dimmer planning | One switch, multiple zones, or a dimmer can change the wiring plan. The control must be compatible with the selected lights and intended use. | Plan the desired controls early, then have the wiring completed safely. |
Grounding deserves particular attention in older homes or spaces with previous remodels. Do not assume that a nearby box or unused cable is ready for a new fixture. A professional can trace the wiring path, check connections, and determine whether the circuit and breaker arrangement are appropriate. When a project exposes voltage drops, intermittent shorts, or nuisance tripping, electrical repair and troubleshooting can identify the underlying issue before more lights are added.
Stop and arrange an electrical evaluation if lights flicker, buzz, feel unusually hot, produce a burning odor, or repeatedly trip the breaker. These signs are not a reason to keep testing the installation. They can indicate a wiring, connection, fixture, or circuit problem that needs attention. Keep the planning tasks homeowner-friendly: map the desired switch locations, note which fixtures should operate together, and photograph accessible areas without disturbing wiring. Circuit changes, grounding work, new wiring, breaker or panel work, and all energized connections should be reserved for a qualified electrician who can follow the fixture instructions and assess the project conditions.
Are recessed lights suitable for Florida outdoor or damp areas?
Recessed lighting can work in a covered patio, porch, soffit, bathroom, or another area exposed to moisture, but an indoor ceiling fixture should not be assumed suitable. The first question is how much moisture the location receives. A damp area may experience humidity or occasional condensation, while an outdoor location may be exposed to wind-driven rain. The fixture, housing, junction box, wiring method, and controls all need to match the actual conditions.
Check the location rating and moisture path
Review the manufacturer instructions for the fixture's location rating before cutting the ceiling. Do not rely on a trim style or the fact that a light is marketed for a bathroom. A qualified electrician can verify whether the selected assembly is appropriate for the exposure and whether the ceiling opening, housing, and connections can be sealed without trapping moisture.
Sealing matters in Florida homes because humid air can move through gaps around a recessed fixture. The U.S. Department of Energy identifies recessed lights as attic-plane penetrations and recommends sealing gaps to limit air leakage and moisture movement between conditioned space and the attic. See the DOE guidance on sealing recessed lights for the air-sealing principle. Sealing should use materials and methods compatible with the fixture and ceiling assembly, not an improvised cover that interferes with heat management or access.
Account for coastal weather and outdoor wiring
Homes near the Florida coast may face salt air corrosion in addition to high humidity. Outdoor wiring and connection points need protection from water entry, corrosion, and physical damage. Storms, lightning, and hurricanes also make the condition of outdoor electrical equipment especially important. A light that worked during a dry week may still have an unprotected connection or deteriorating seal that becomes hazardous during heavy rain.
Before installation, look for water staining, cracked sealant, corrosion, loose trim, flickering, or a breaker that trips when the area becomes wet. Stop and arrange an electrical evaluation rather than energizing questionable wiring. Outdoor runs, new circuits, grounding, junction boxes, and connections should be handled by a qualified electrician who can trace the wiring path and verify the finished installation. Local requirements can vary by project and jurisdiction, so avoid assuming that one approach applies to every Florida property.
Planning the beam direction and fixture locations is reasonable for a homeowner. Selecting the right location-rated equipment, protecting the wiring, sealing the assembly, and completing final safety checks require project-specific judgment. That is particularly true when the recessed light will be installed in a soffit, near insulation, under a roof exposed to storms, or anywhere moisture can reach the electrical connections.
What is the safe way to install recessed lighting?
A safe recessed-lighting project is planned in stages. Homeowners can help choose the room, mark preferred locations, and identify the lighting effect they want. Permanent electrical work is different. Do not work on energized wiring, change circuits, or connect fixtures to house wiring unless the work is handled by a qualified electrician.
- Plan the layout. Mark each proposed fixture from the room side, considering furniture, work surfaces, wall wash, and the location of the switch or dimmer. Check for joists, ductwork, plumbing, attic access, and other obstructions before committing to a cutout. Confirm that the fixture suits the room and any moisture exposure. In coastal Florida, humidity, salt air, and storms make suitability especially important.
- Isolate the power professionally. Before any ceiling work begins, a qualified electrician should identify the correct circuit, turn off the power, and verify that the wiring is de-energized with appropriate test equipment. Turning off a wall switch alone is not enough. Homeowners should not open boxes, handle conductors, or make circuit changes as part of a DIY installation.
- Prepare the ceiling cutout and support. The electrician should confirm the cutout size from the fixture instructions, avoid framing, and protect the ceiling from unnecessary damage. The fixture also needs proper support. If the ceiling is between conditioned space and an attic, account for air leakage and moisture movement. The U.S. Department of Energy recommends sealing gaps around insulation-contact-rated fixtures, while non-IC enclosures require the clearances specified for that design.
- Review the box and wiring path. The connection point must be accessible as required by the installation and local requirements, with wiring routed and secured appropriately. Existing wiring may not be suitable for added fixtures, and the electrician should evaluate grounding, conductor condition, circuit capacity, and breaker compatibility before making connections.
- Install the switch or control. Decide whether the lights will use a standard switch, dimmer, timer, or another control before the wiring is finalized. The control must be compatible with the fixture and installed according to its instructions. If the project reveals flickering, buzzing, heat, a burning odor, or repeated breaker trips, stop and arrange an electrical evaluation instead of proceeding.
- Fit the fixtures and trim. After the wiring and supports are ready, the electrician can install the housings or canless fixtures, connect the approved components, and secure the trim without pinching wires or damaging the ceiling. Follow the manufacturer instructions rather than assuming every recessed light installs the same way.
- Test the completed installation. A qualified electrician should restore power, test each fixture and control, check for abnormal heat or operation, and confirm that the installation performs safely. If the project exposes wiring problems, indoor and outdoor lighting service can address the underlying issue instead of leaving a hidden fault above the ceiling.
When should you call an electrician for recessed lighting?
Call an electrician before installation when the project involves more than choosing fixture locations and trim styles. Planning is useful, but connecting new lights to house wiring, changing a circuit, or working around concealed hazards requires professional evaluation. This is especially important in older Florida homes, where the wiring, insulation, ceiling access, and moisture conditions may not be obvious from the room below.
There is no existing wiring or the ceiling is hard to access
If the room has no suitable light box, switch, or accessible wiring path, an electrician can determine the best route. They can then plan how a new cable run should reach the fixtures. An inaccessible ceiling, finished upper floor, tight attic, or framing obstruction can make routing and supporting fixtures more complicated. Do not cut into the ceiling based on a guess about what is above it. A professional can help plan the layout and identify a practical installation method before unnecessary openings are made.
Insulation, moisture, or outdoor exposure is uncertain
Recessed lights must be suitable for the ceiling conditions around them. Insulation may require a fixture designed for insulation contact, while a non-IC fixture may need specific clearance and enclosure treatment. The U.S. Department of Energy also identifies recessed-light penetrations as places where air leakage and moisture movement between the attic and conditioned space should be controlled. If you cannot confidently identify the insulation, framing, or moisture conditions, stop and ask for an evaluation rather than guessing.
Outdoor or damp locations need the same caution. Humidity, salt air, storms, and rain exposure can affect fixture selection, housings, seals, and wiring methods. My Electrician supports indoor and outdoor lighting work, including wiring-path tracing and resealing housings. You can learn more about My Electrician before scheduling a consultation.
The panel or breaker may need attention
Adding several fixtures can raise questions about circuit capacity, breaker compatibility, grounding, and existing connections. Call an electrician if a new circuit, breaker change, panel work, or load balancing may be necessary. These are not safe areas for trial and error. Likewise, stop if a breaker trips repeatedly, lights flicker, or you notice buzzing, unusual heat, a burning odor, or a loose connection. Those symptoms may indicate a wiring or circuit problem that needs troubleshooting before any new lighting is added.
You need final testing or are unsure about the result
An electrician should make the final connections and test the completed installation, including switches, dimmers, grounding, fixture operation, and any affected circuit. Professional troubleshooting may use meters and load tests to investigate voltage drops, intermittent shorts, or nuisance tripping without unnecessary wall openings. If you are uncertain at any stage, pause the project and arrange a planned installation or troubleshooting visit instead of energizing unfinished work.
Frequently Asked Questions
Can I install recessed lighting myself?
Homeowners can plan fixture locations, mark the ceiling, and note access conditions. Connecting fixtures to house wiring, changing circuits, working near concealed wiring, and completing final testing should be handled by a qualified electrician.
Do I need an electrician to install recessed lights?
Call an electrician when there is no existing wiring, the ceiling is inaccessible, the circuit may need changes, or insulation and moisture conditions are unclear. Professional help also protects the project when outdoor exposure or final testing is involved.
How should recessed lighting be placed?
Place lights according to the room's use. Consider counters, islands, seating, artwork, wall edges, doors, and likely shadows. Mark a proposed pattern and view it from normal activity areas before cutting the ceiling.
How do you install recessed lights with existing wiring?
Existing wiring still needs to be checked for condition, grounding, circuit capacity, breaker compatibility, and fixture requirements. Do not assume an unused cable or nearby box is ready. Have an electrician verify connections before power is restored.
Are canless recessed lights easier to install?
Canless fixtures may help when ceiling depth or attic access is limited, while retrofit fixtures adapt an existing recessed housing. The right choice depends on the ceiling, insulation, wiring, support, moisture exposure, and manufacturer instructions.
Ready to plan your recessed lighting project?
A property-specific evaluation can clarify fixture placement, ceiling access, circuit capacity, controls, moisture exposure, and the safest installation approach. My Electrician can help with planned lighting installation and troubleshooting across the Treasure Coast and Northern Palm Beach County.
Schedule Service for recessed lighting planning and installation.